RDS snapshots with EC2

What you’ll need to follow this guide: Link to heading
- RDS database (Aurora clusters as well)
- EC2 instance
- IAM role & policy
Concept: Link to heading
If the nightly backup snapshots are too far apart for your comfort, consider incremental snapshots using AWSCLI, leveraging the instance profile attached to an EC2 instance. We will be creating a snapshot that is 3hours old every 3 hours and replacing the prior snapshot so there is no clutter or pages of snapshots you need to weed through.
Benefits: Link to heading
More backups to restore from and a shorter RPO (Recovery Point Objective) for those of you who are working on improving your DR game.
Implementation Guide: Link to heading
IAM Role and Policy Link to heading
- Create the following IAM policy, which we will call
rds-snapshots
Be mindful of replacing the following in the policy:
- REGION
- AWSACCOUNTID
- the resource names – both a Standalone RDS instance and Aurora RDS Cluster resources are included
{
    "Version": "2012-10-17",
    "Statement": [
        {
            "Sid": "VisualEditor0",
            "Effect": "Allow",
            "Action": [
                "rds:AddTagsToResource",
                "rds:DescribeDBInstanceAutomatedBackups",
                "rds:DescribeDBSnapshots",
                "rds:DescribePendingMaintenanceActions",
                "rds:DescribeDBLogFiles",
                "rds:DescribeDBClusterSnapshots",
                "rds:DescribeDBProxyTargets",
                "rds:ListTagsForResource",
                "rds:CreateDBSnapshot",
                "rds:DescribeValidDBInstanceModifications",
                "rds:DownloadDBLogFilePortion",
                "rds:DescribeDBInstances",
                "rds:CreateDBClusterSnapshot",
                "rds:DownloadCompleteDBLogFile",
                "rds:DescribeDBClusterEndpoints",
                "rds:RemoveTagsFromResource",
                "rds:DeleteDBClusterSnapshot",
                "rds:DeleteDBSnapshot",
                "rds:DescribeDBClusters"
            ],
            "Resource": [
                "arn:aws:rds:REGION:AWSACCOUNTID:db:STANDALONE-DATABASE-NAME",
                "arn:aws:rds:REGION:AWSACCOUNTID:snapshot:STANDALONE-SNAPSHOT-NAME",
                "arn:aws:rds:REGION:AWSACCOUNTID:cluster:AURORA-CLUSTER-NAME",
                "arn:aws:rds:REGION:AWSACCOUNTID:cluster-snapshot:AURORA-CLUSTER-SNAPSHOT-NAME"
            ]
        },
        {
            "Sid": "VisualEditor1",
            "Effect": "Allow",
            "Action": [
                "rds:DescribeDBEngineVersions",
                "rds:DescribeExportTasks",
                "rds:DescribeEngineDefaultParameters",
                "rds:DescribeRecommendations",
                "rds:DescribeCustomAvailabilityZones",
                "rds:DescribeReservedDBInstancesOfferings",
                "rds:DescribeRecommendationGroups",
                "rds:DescribeOrderableDBInstanceOptions",
                "rds:DescribeEngineDefaultClusterParameters",
                "rds:DescribeSourceRegions",
                "rds:DescribeInstallationMedia",
                "rds:DescribeCertificates",
                "rds:DescribeEventCategories",
                "rds:DescribeAccountAttributes",
                "rds:DescribeDBClusterSnapshots",
                "rds:DescribeEvents"
            ],
            "Resource": "*"
        }
    ]
}
- Create the IAM Role, scoped to EC2 trust entity, which we will call
rds-snapshots-roleand attach the policy we created in the previous step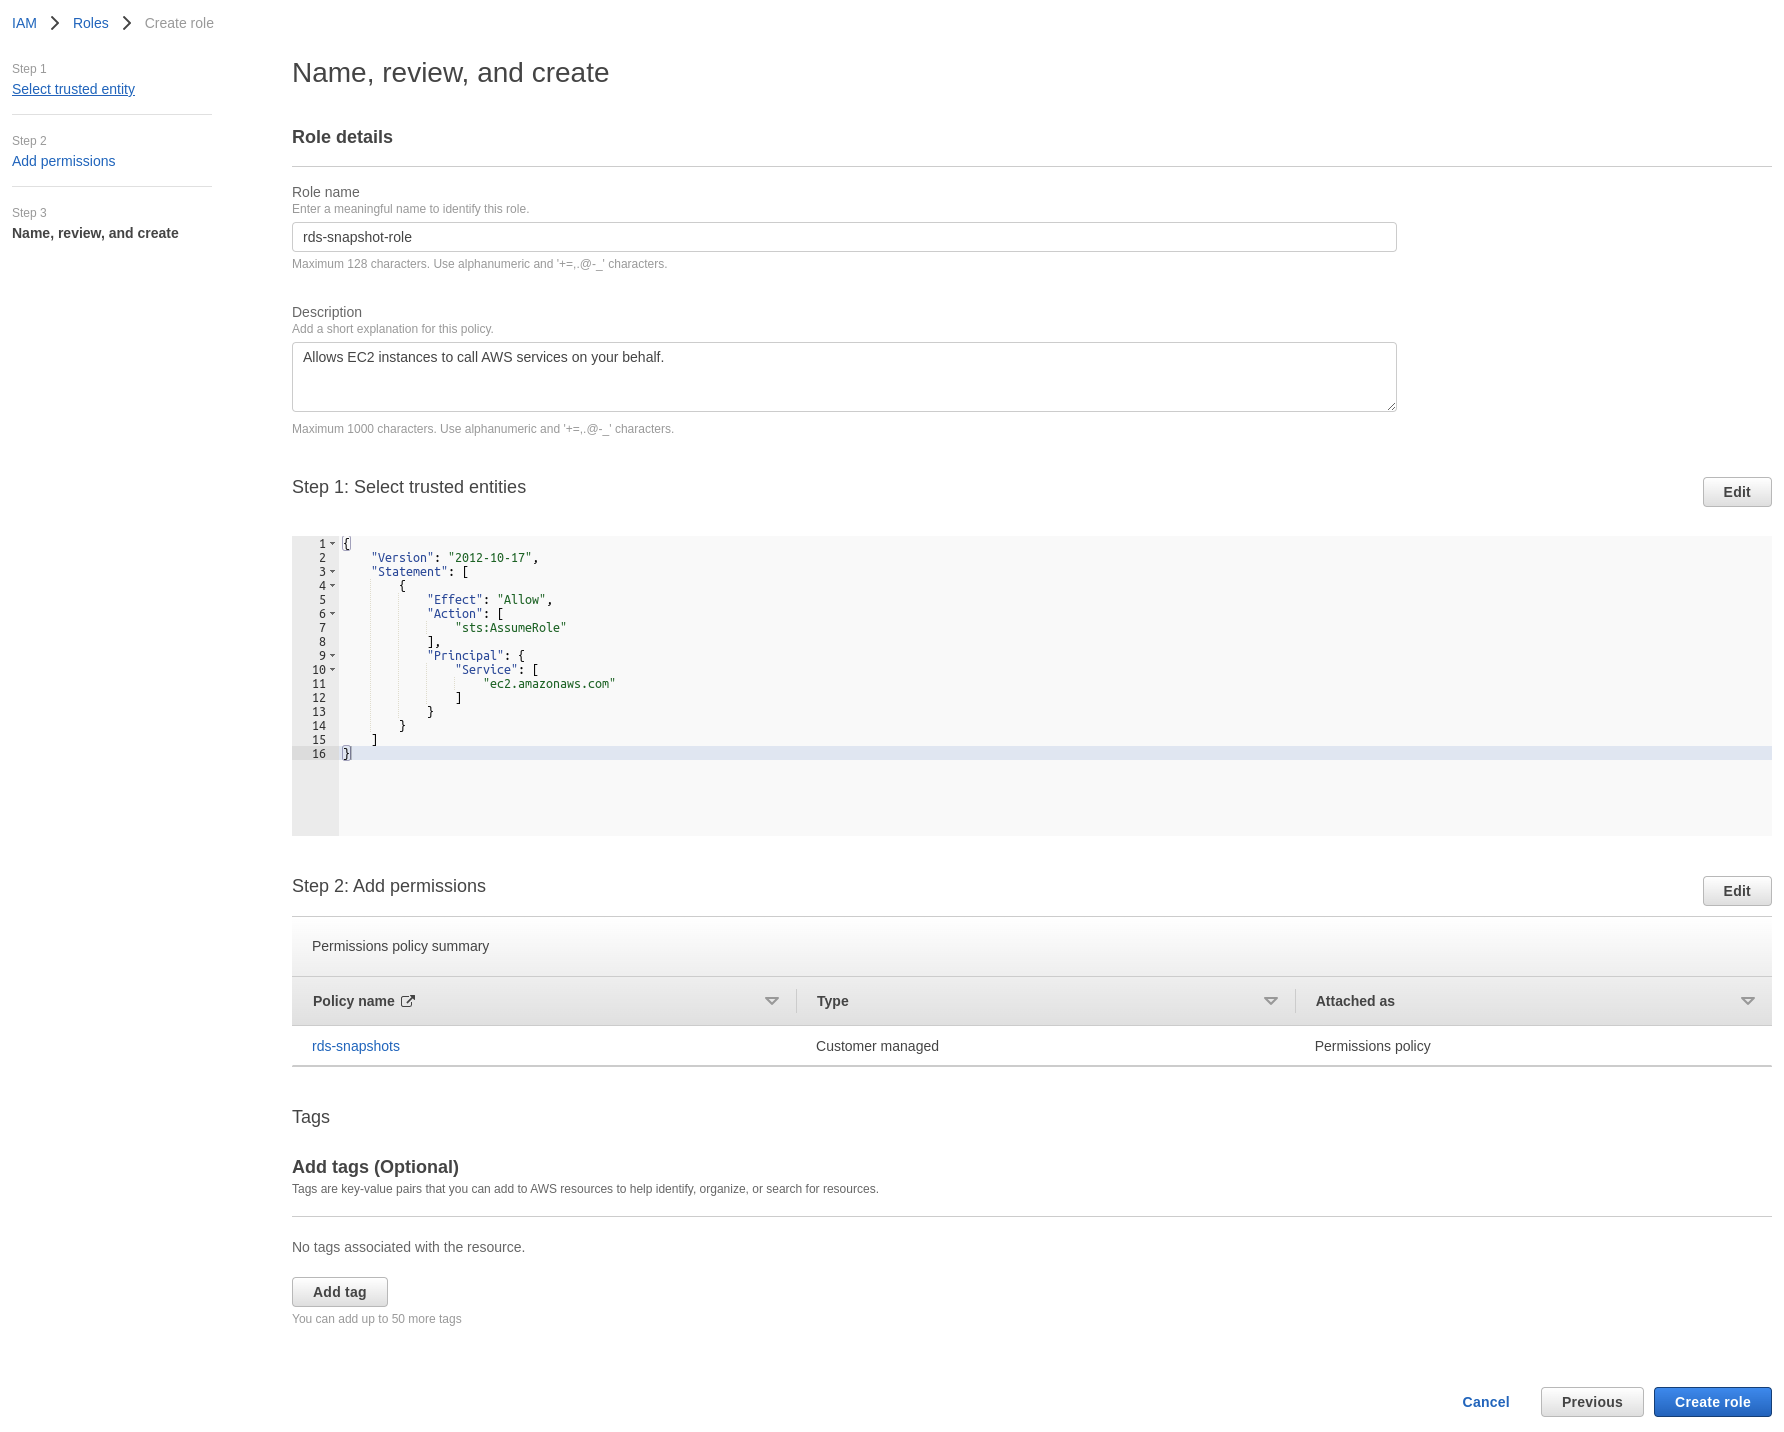
EC2 Instance and Role Attachment Link to heading
Launch an EC2 instance and attache the rds-snapshots-role IAM role
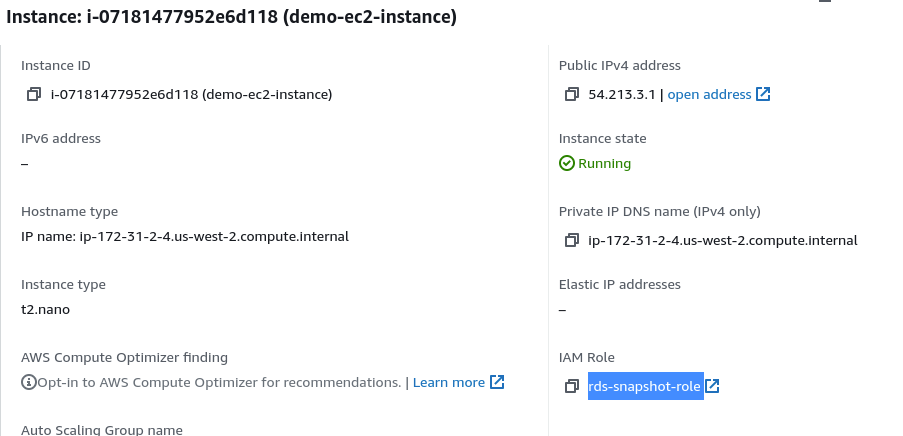
Important: If you are attaching the role to an existing instance, you must reboot the instance for the role to apply
AWSCLI and Script Link to heading
First we install AWSCLI. See Documentation for other install methods. In this example we launched an Ubuntu EC2 instance and will install it with python pip: As the ubuntu user: (drop sudo if you are root user)
- install python3 and pip:
sudo apt-get update && sudo apt-get install python3 python3-pip -y - install AWSCLI:
sudo pip install awscli - verify installation:
aws --version
Output should be similar to:
aws-cli/1.22.97 Python/3.8.10 Linux/5.11.0-1022-aws botocore/1.24.42
- verify IAM role attachment:
aws sts get-caller-identity
Output should be similar to:
{
    "UserId": "ACCESSKEYID:i-07181477952e6d118",
    "Account": "AWSACCOUNTID",
    "Arn": "arn:aws:sts::AWSACCOUNTID:assumed-role/rds-snapshot-role/i-07181477952e6d118"
}
Next we will create a simple bash script and name it: rds_snapshot.sh
Note that the command is different for an aurora cluster vs a standalone RDS instance so uncomment the ones that fits your specific use-case (i.e. the AURORA CLUSTER ONLY or the RDS INSTANCE ONLY ones)
#!/bin/bash

DATE=$(date "+%H")
REGION="AWS_REGION"
DATABASE_NAME="YOUR_RDS_{INSTANCE|CLUSTER}_NAME"

#check to see if there is a snapshot
  # AURORA CLUSTER ONLY
  # aws --region $REGION rds describe-db-cluster-snapshots --db-cluster-snapshot-identifier $DATABASE_NAME-$DATE

  # RDS INSTANCE ONLY
  aws --region $REGION rds describe-db-snapshots --db-snapshot-identifier $DATABASE_NAME-$DATE

#if a snapshot does not exist, then create the next snapshot freely
if [ $? -ne 0 ]; then

  # AURORA CLUSTER ONLY
  # aws --region $REGION rds create-db-cluster-snapshot --db-cluster-identifier $DATABASE_NAME --db-cluster-snapshot-identifier $DATABASE_NAME-$DATE

  # RDS INSTANCE ONLY
  aws --region $REGION rds create-db-snapshot --db-instance-identifier $DATABASE_NAME --db-snapshot-identifier $DATABASE_NAME-$DATE

else
# to avoid clutter, we only want the latest snapshot available and will be throwing away the previous
  echo "snapshot by that name already exists! deleting old first"

  # AURORA CLUSTER ONLY
  #aws --region $REGION rds delete-db-cluster-snapshot --db-cluster-snapshot-identifier $DATABASE_NAME-$DATE && aws --region $REGION rds create-db-cluster-snapshot --db-cluster-identifier $DATABASE_NAME --db-cluster-snapshot-identifier $DATABASE_NAME-$DATE

  # RDS INSTANCE ONLY
  aws --region $REGION rds delete-db-snapshot --db-snapshot-identifier $DATABASE_NAME-$DATE && aws --region $REGION rds create-db-snapshot --db-instance-identifier $DATABASE_NAME --db-snapshot-identifier $DATABASE_NAME-$DATE

fi
Don’t forget to chmod +x rds_snapshot.sh script so it has premissions to execute!
Add to Crontab Link to heading
Add to crontab with crontab -e and insert the following to run every 3 hours on the 10th minute of that hour:
10 */3 * * * /root/crons/rds_snapshot.sh >> /dev/null 2>&1
Script Output Link to heading
You should see the output of a snapshot being created OR see a snapshot being deleted before being re-created.
Verification Link to heading
You can see that all is working as expected! Below represents a snapshot named after the database name database-1 + the 17th hour (5pm), resulting in database-1-17
That it was created on April 17th is merely a coincidence

Conclusion Link to heading
Now you have an automatically created snapshot that is only 3 hours behind if you ever need to restore from it!
Considerations Link to heading
- Adjust the cron to fit your needs, 3 hours seeemed fair for an average but some may need more or less time in between
- You can adapt this script into a CI pipeline to create backups before something like a database migration
- Test your backups once in a while from a DR perspective, we do this at least once if not twice a year – there is nothing worse than having useless backups to fail back to and you will be sorely disappointed when you need it most!